Wavefront
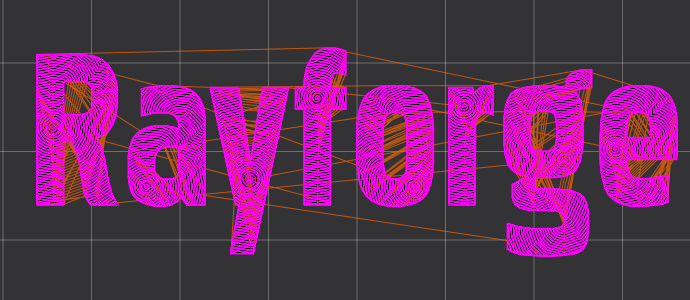
Wavefront adaptive clearing fills closed vector shapes with concentric toolpaths that expand outward from the pocket center like ripples in a pond. The expanding rings handle interior islands automatically and produce smooth, continuous toolpaths without the sharp reversals of raster scanning.
Overview
Unlike traditional raster engraving, which sweeps back and forth in parallel lines, wavefront generates concentric passes that radiate from the center of each pocket. This produces a uniform, ripple-like finish well suited for applications where the fill pattern itself contributes to the visual result.
Wavefront operations:
- Fill closed vector shapes (pockets) with concentric passes
- Expand outward from the pocket center
- Automatically route around interior islands (holes within the pocket)
- Produce smooth toolpaths without direction reversals
When to Use Wavefront
Wavefront is an alternative fill pattern for pocket areas. Its concentric rings can be more visually pleasing than parallel raster lines, and the expanding pattern naturally complements circular or organic shapes.
Use wavefront adaptive clearing for:
- Filling pockets in vector designs
- Stamp and die making — the wavefront clears the background pocket while preserving raised features as interior islands
- Applications where the fill texture is visible in the finished piece
Don't use wavefront for:
- Cutting along outlines (use Contour instead)
- Filling bitmap images (use Engrave instead)
- Thin wall sections where no pocket exists
Creating a Wavefront Operation
Step 1: Select Objects
- Import or draw closed vector shapes on the canvas
- Select the objects defining the pocket boundary
- Ensure shapes are closed paths
Step 2: Add Wavefront Operation
- Menu: Operations → Add Wavefront
- Right-click: Context menu → Add Operation → Wavefront
Step 3: Configure Settings
Adjust step-over and offset to match your material and desired finish.
Key Settings
Step Over
The distance between consecutive wavefront passes (mm). Smaller values give denser coverage with more passes and longer job times. Larger values space passes further apart for faster completion.
Step Over defaults to the laser spot size and has a range of 0.05–50.0 mm.
| Step Over | Line Density | Job Time |
|---|---|---|
| 0.1 mm | Dense, many lines | Slowest |
| 0.3 mm | Moderate | Medium |
| 1.0 mm+ | Sparse, fewer lines | Fast |
Typical values are 0.1–0.5 mm for most applications.
Offset
Extra clearance from the pocket wall (mm). Creates a margin between the outermost wavefront pass and the boundary contour. This is useful when a separate Contour pass will finish the edge, or when you want to leave a deliberate border around the pocket.
Range: 0.0–20.0 mm. Default is 0.0 (wavefront passes extend to the boundary).
How Wavefront Works
- Entry pass — A helical entry plunges into the center of the pocket to establish an initial cleared area
- Wavefront expansion — Beginning from the cleared center, concentric rings expand outward. Each ring extends beyond the previous one by the configured step-over distance
- Island handling — As the wavefront grows, it encounters and routes around any interior islands, leaving them standing
- Completion — Expansion continues until the entire pocket area is covered
Post-Processing
Wavefront operations support:
- Smooth Path — Reduce jagged edges in the toolpaths
- Path Optimization — Minimize travel distance between passes
Tips & Best Practices
Choosing Step Over
- Denser coverage (small step-over) means more passes and longer job times
- Sparse coverage (large step-over) is faster but leaves more material between passes
- Balance density against job time for your application
Stamp and Die Making
Wavefront is well suited for stamp making. The expanding concentric rings naturally clear the background pocket while navigating around raised features treated as interior islands.
Combining with Contour
A common workflow is to clear the pocket interior with wavefront, then finish the boundary with a Contour pass for a clean edge. Set the offset to leave enough margin for the contour cut.
Related Topics
- Contour — Cutting along vector outlines
- Engrave — Filling areas with raster engraving patterns
- Shrink Wrap — Boundary cutting around objects
- Smooth Path — Refining toolpath edges