


Interval and Focus Tests
Next to the Material Test Grid, the Tools menu offers two more calibration jobs. All three work the same way: Tools → Create … adds the test with default settings on a new layer and selects it, and its settings appear under Test Settings in the item properties panel on the right. Every change there rebuilds the test right away, as one step you can undo, so you see the result while you adjust it. The test is ordinary content: you can move it, frame it and preview it like anything else. Each cell or line has its own operation, which you can also fine-tune by hand, but a later change in the Test Settings rebuilds those operations.
Interval Test
Tools → Create Interval Test engraves a row of filled squares. Every square has its own Engrave operation with its own line interval, spread evenly from the smallest to the largest interval you enter, while power and speed stay the same for all of them. The labels under each square show the interval in millimeters and the matching line density in lines per inch (LPI).
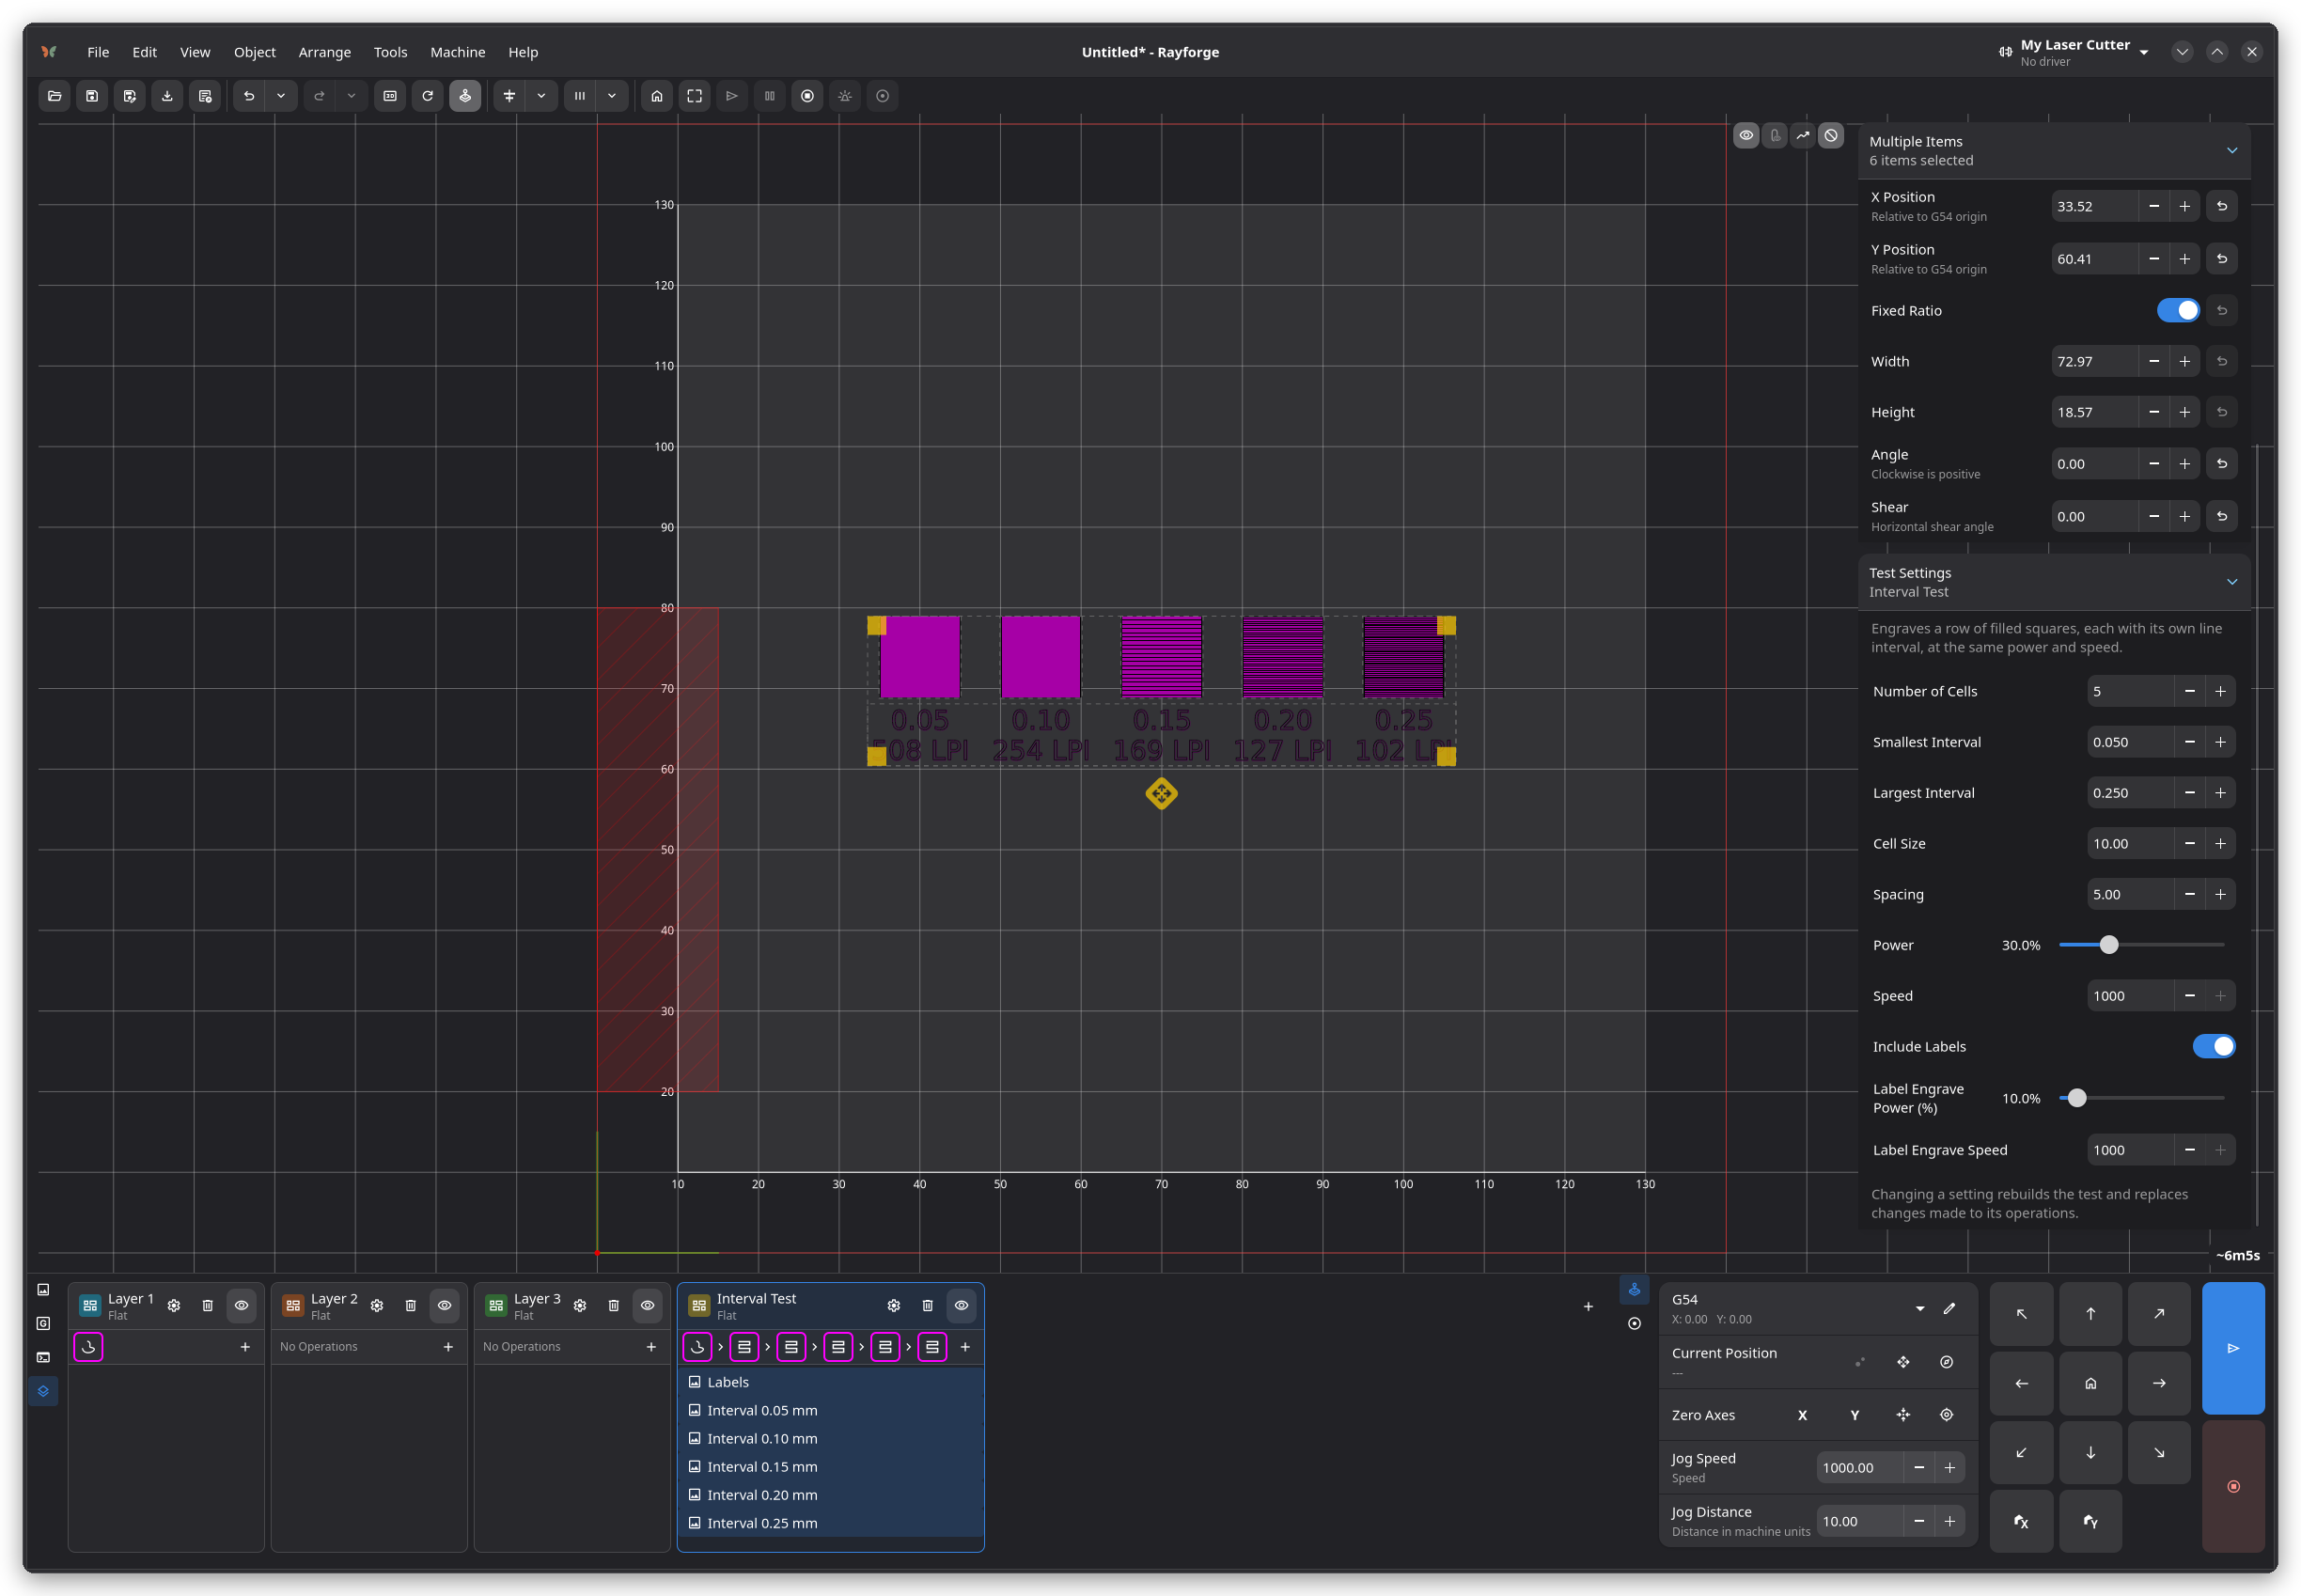
Pick the square that is filled evenly without visible lines and without burning too deep, and use its interval for engravings on that material. The labels are cut with a separate low-power operation before the squares.
Focus Test
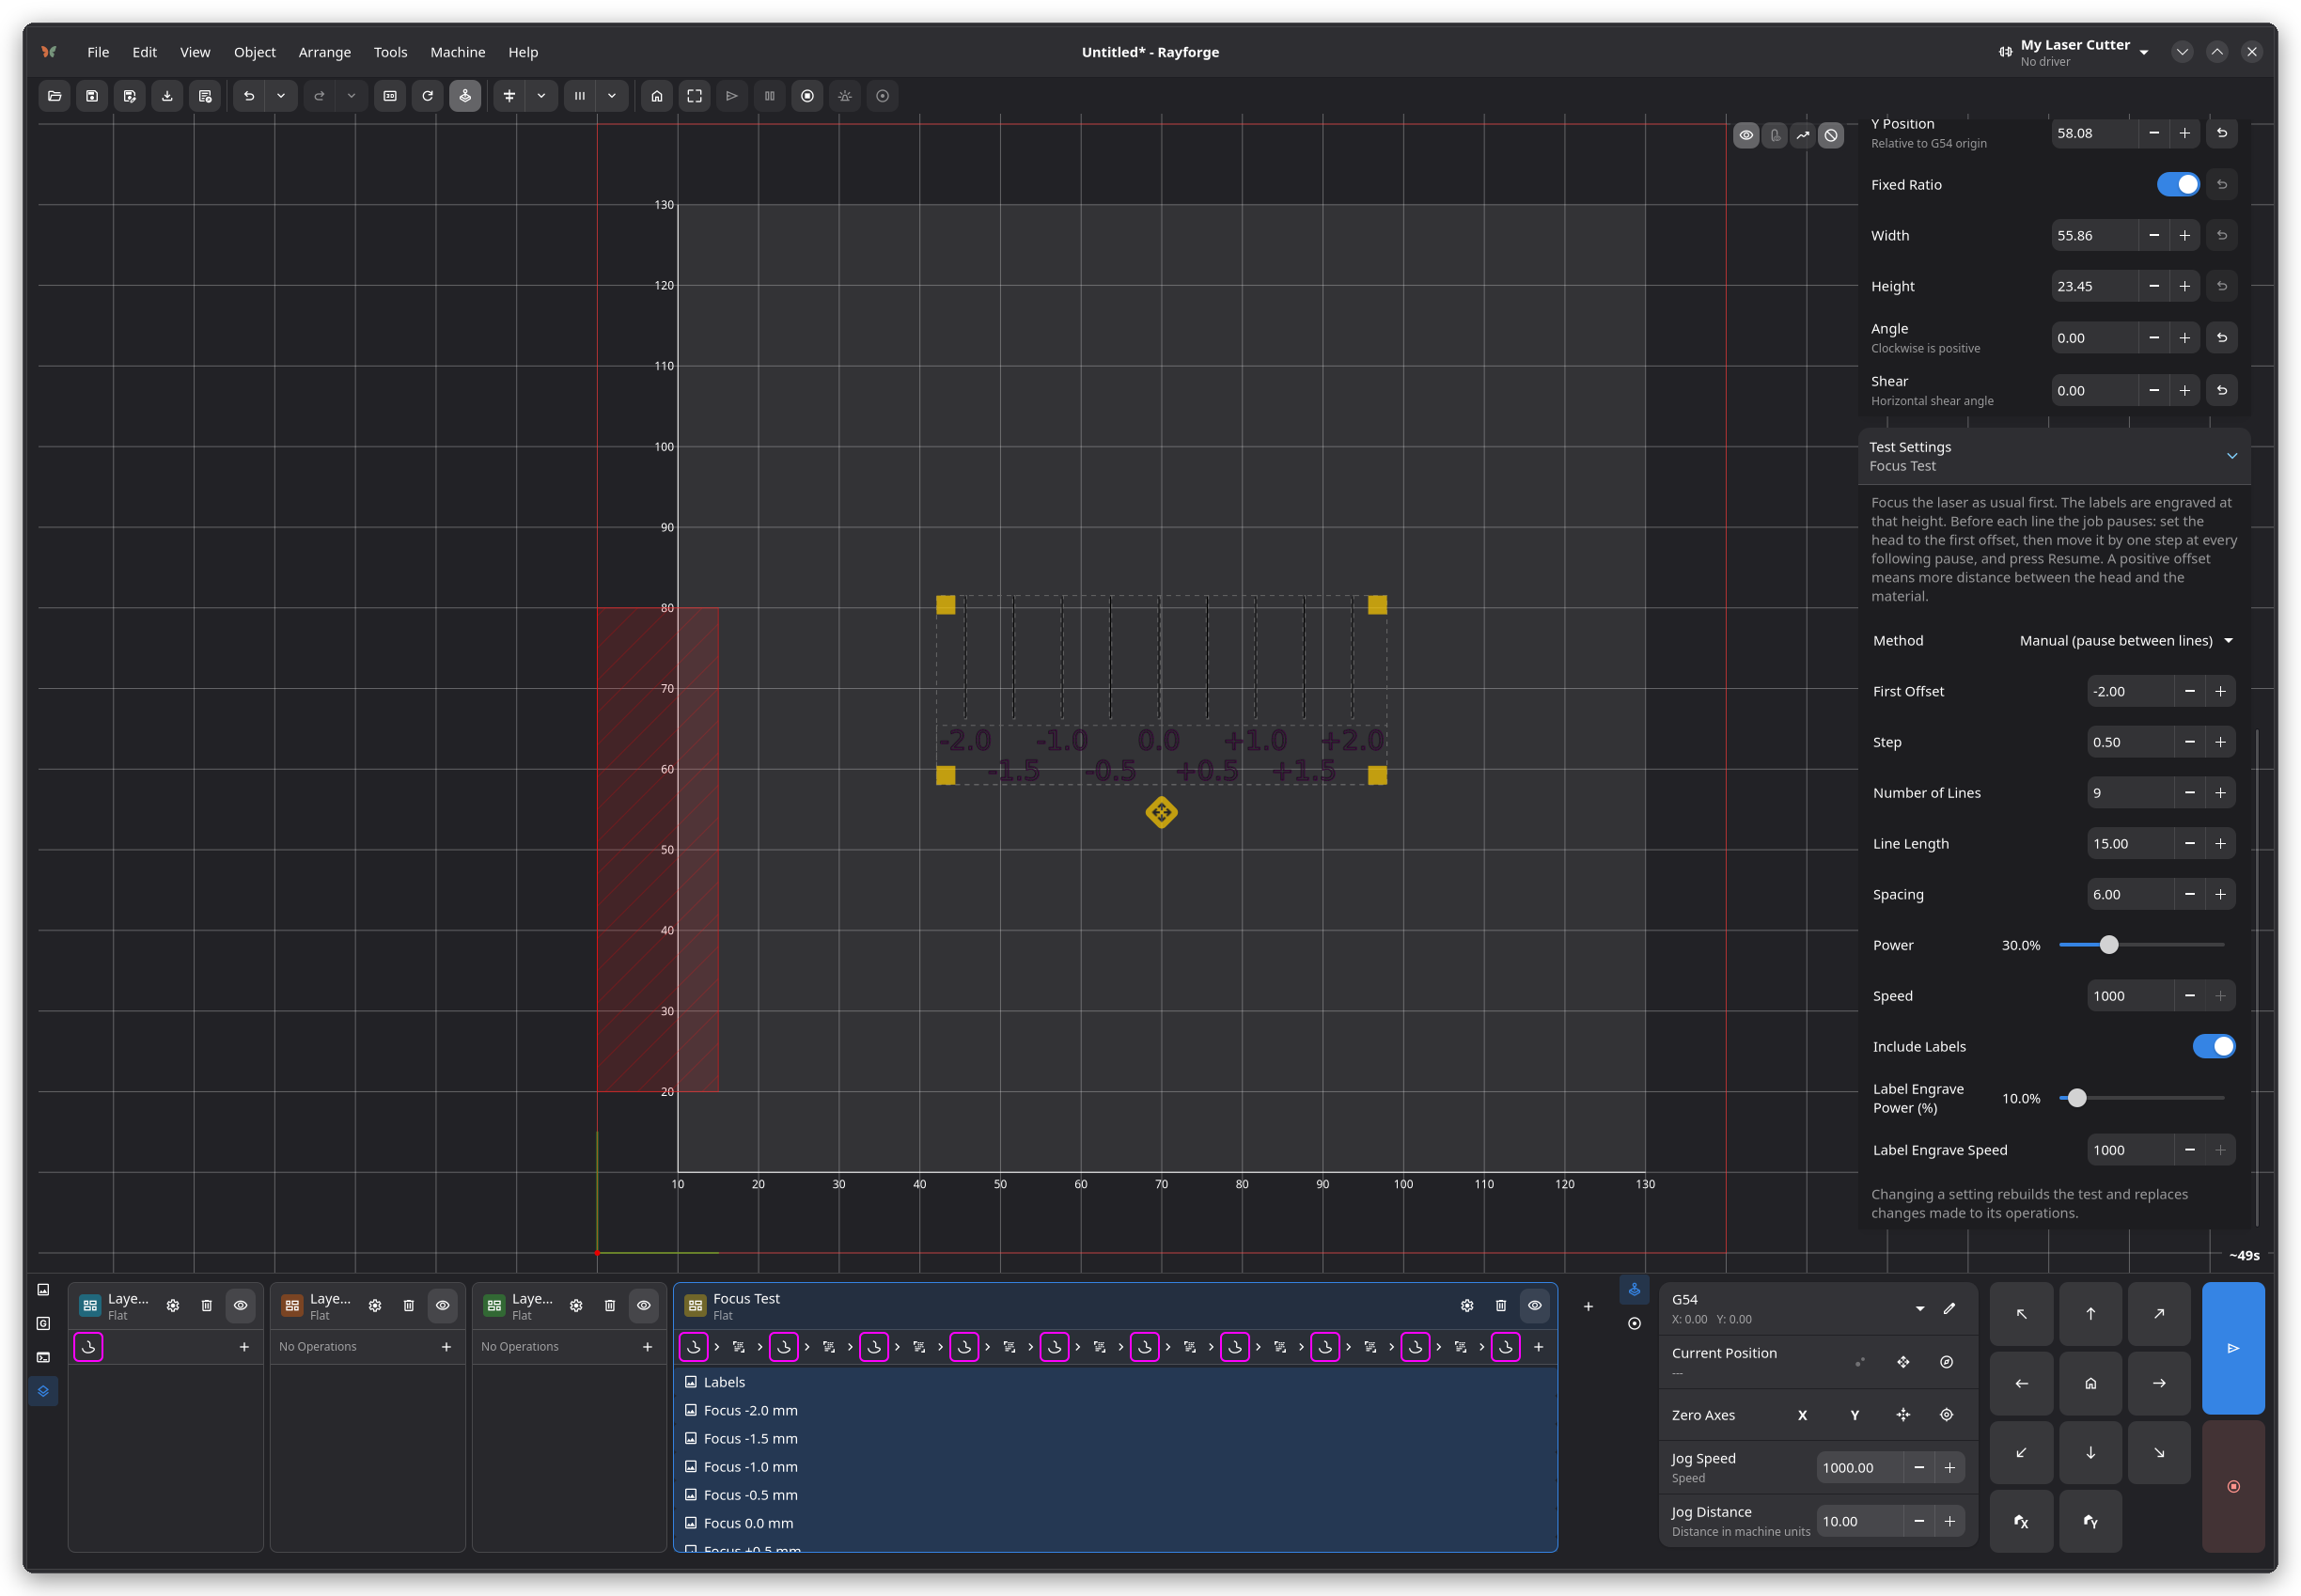
Tools → Create Focus Test finds the height at which the beam is sharpest. A positive offset means more distance between the head and the material. The thinnest line marks the best focus.
| Method | How the height changes |
|---|---|
| Z axis steps | The head moves to each offset with relative Z moves and returns to its starting height at the end |
| Manual (pause between lines) | The job pauses (M0) before each line; you move the head by hand and press Resume |
| Ramp (tilted material) | One long line with distance ticks; you prop up one end of a flat strip so it rises under the line |
Z axis steps are only offered on machines with a Z axis, and both Z axis steps and the manual method need a G-code controller, because they use Command operations between the lines. The offsets are limited to ±10 mm from the starting height. A new Focus Test uses the first method the machine supports, in the order of the table above.
For the manual method, focus the laser as usual first. The labels are engraved at that height. At
the first pause, set the head to the first offset; at every following pause, move it by one step.
Check that your controller stops on M0 and that the Resume button continues the job before you
rely on it, for example with a dry run at 0% power.
For the ramp, the height under any point of the line follows from the rise of the strip: at a distance d along a line of length L on a strip that rises h, the material is h × d / L higher than at the start.