Materials
Material libraries in Rayforge allow you to organize and manage collections of materials for your laser cutting and engraving projects. This guide explains the difference between core and user libraries, and how to create your own libraries and add materials to them.
Material libraries have currently no functional use - assigning a material merely affects the esthetic appearance. In future releases, materials will be used to derive functional parameters.
Creating a New Library
To create your own material library:
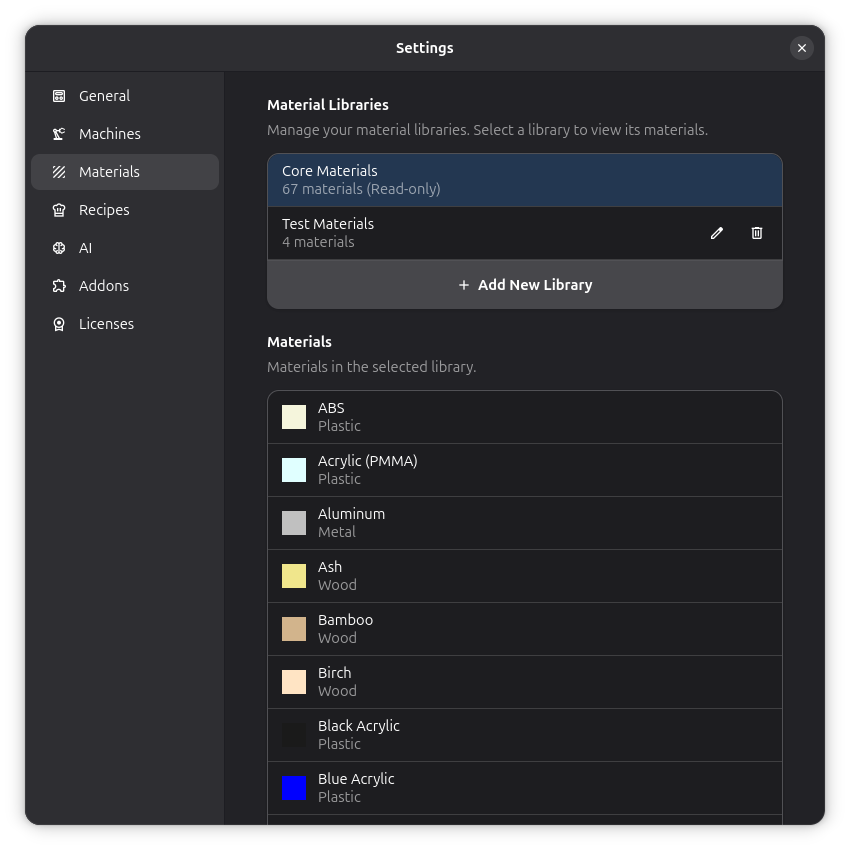
- Open the Settings menu and select Materials
- Click the Add New Library button to create a new library
- Enter a descriptive name for your library (e.g., "My Workshop Materials")
- Click Create to finalize
Your new library will be created in the user data directory and will be available immediately.
Adding Materials to Libraries
Creating a New Material
- Select the library where you want to add the material
- Click the Add New Material button in the materials list
- Fill in the material properties:
- Name: Human-readable name
- Category: Grouping category (e.g., "Wood", "Acrylic")
- Appearance: Visual properties (color)
- Click Save to add the material to the library
Material Properties Explained
Name
- Human-readable name displayed in the interface
- Can contain spaces and special characters
Category
- Used for organizing materials within the library
- Common categories include: Wood, Acrylic, Metal, Paper, Leather
- You can create custom categories as needed
Color
The color is only used for visual appearance on the work surface - it does not affect the laser path in any way.
Managing Existing Materials
Editing Materials
- Select the material you want to edit
- Click the Edit button
- Modify the desired properties
- Click Save to apply changes
Deleting Materials
- Select the material you want to delete
- Click the Delete button
- Confirm the deletion in the dialog
Deleting a material is permanent and cannot be undone.