


Recipes and Settings
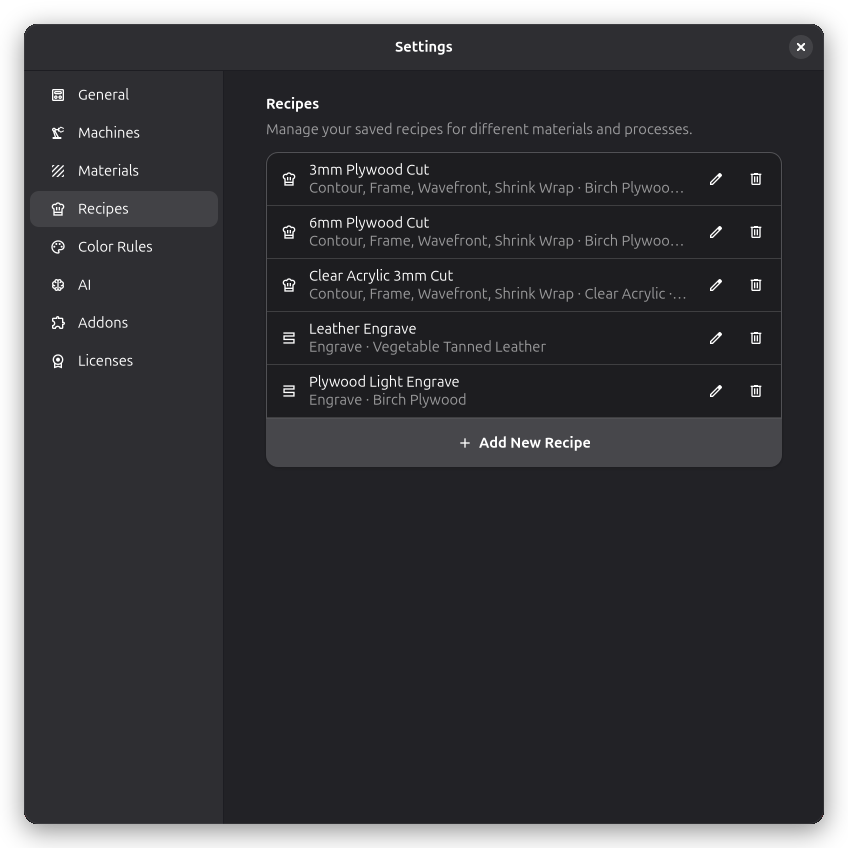
Rayforge provides a powerful recipe system that allows you to create, manage, and apply consistent settings across your laser cutting projects. This guide covers the complete user journey from creating recipes in the general settings to applying them to operations and managing settings at the step level.
Overview
The recipe system consists of three main components:
- Recipe Management: Create and manage reusable settings presets
- Stock Material Management: Define material properties and thickness
- Step Settings: Apply and fine-tune settings for individual operations
Recipe Management
Creating Recipes
Recipes are named presets that contain all the settings needed for specific operations. You can create recipes through the main settings interface:
1. Access Recipe Manager
Menu: Edit → Settings, then select Recipes
2. Create New Recipe
Click "Add New Recipe" to open the recipe editor dialog.
General Tab - Set the recipe name and description:
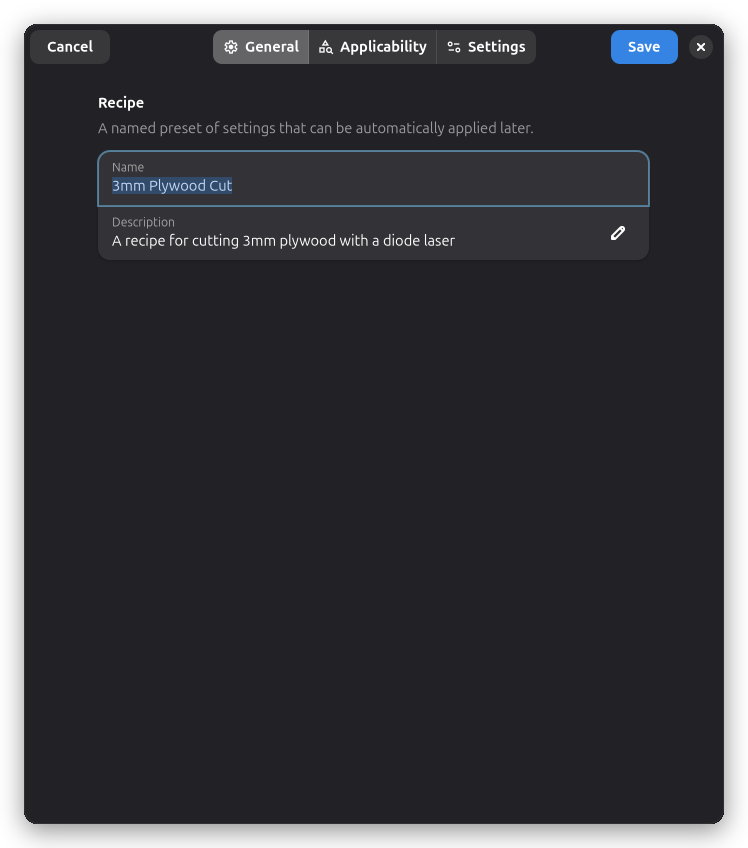
Fill in the basic information:
- Name: Descriptive name (e.g., "3mm Plywood Cut")
- Description: Optional detailed description
3. Define Applicability Criteria
Applicability Tab - Define when this recipe should be suggested:
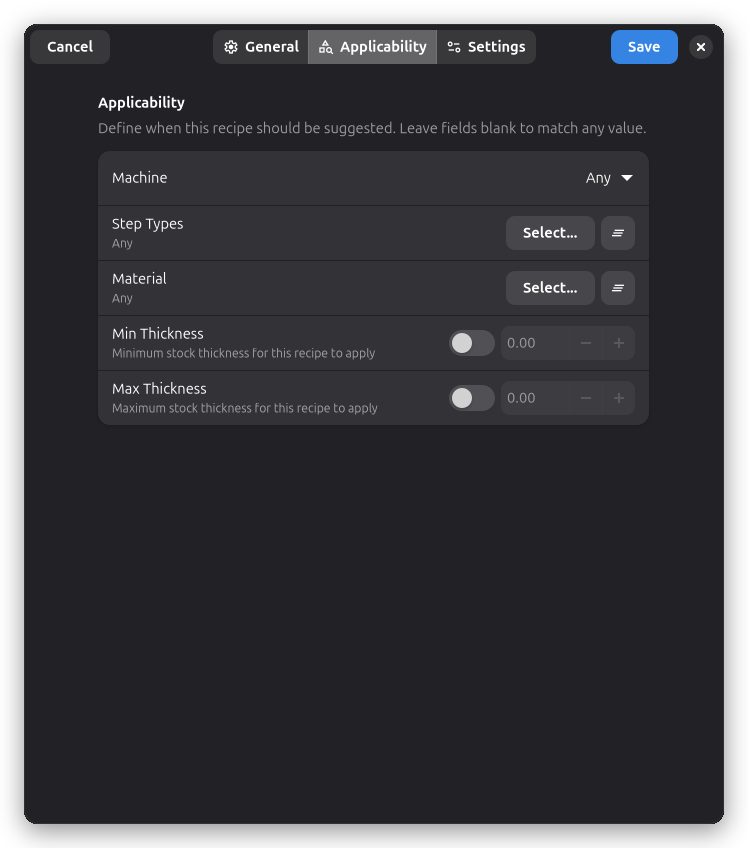
All criteria are optional - leave any field at its "Any" value to match everything:
- Machine: Choose a specific machine or leave as "Any"
- Task Type: Select the operation category this recipe applies to (Cut, Engrave, etc.), or leave as "Any" to apply to all task types
- Step Type: Restrict the recipe to a specific operation type (e.g. "Contour" or "Raster"). The list is filtered to the step types that support the selected task type. Leave as "Any Type" to match every step type within the task
- Material: Select a material type or leave open for any material
- Min/Max Thickness: Set minimum and maximum stock thickness values
4. Configure Settings
Settings Tab - Adjust power, speed, and other parameters. When the recipe targets a specific step type, the editor shows two settings pages: a "Laser" page with the shared process settings (power, air assist, etc.) and a "Step Settings" page with the attributes specific to that step type (e.g. cut side, cut order):
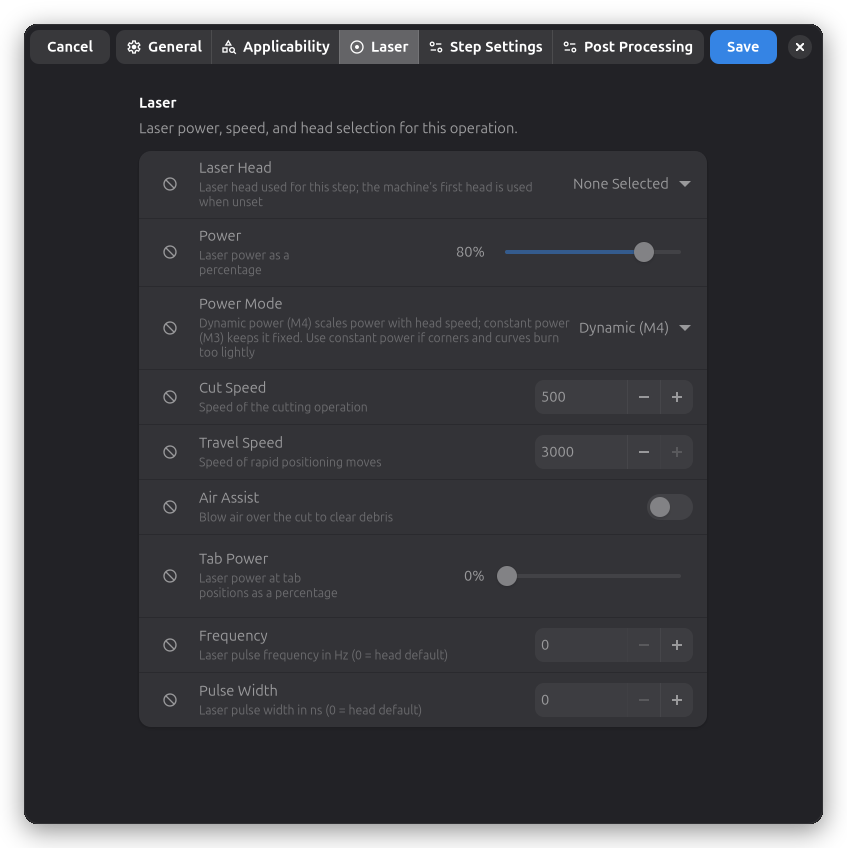
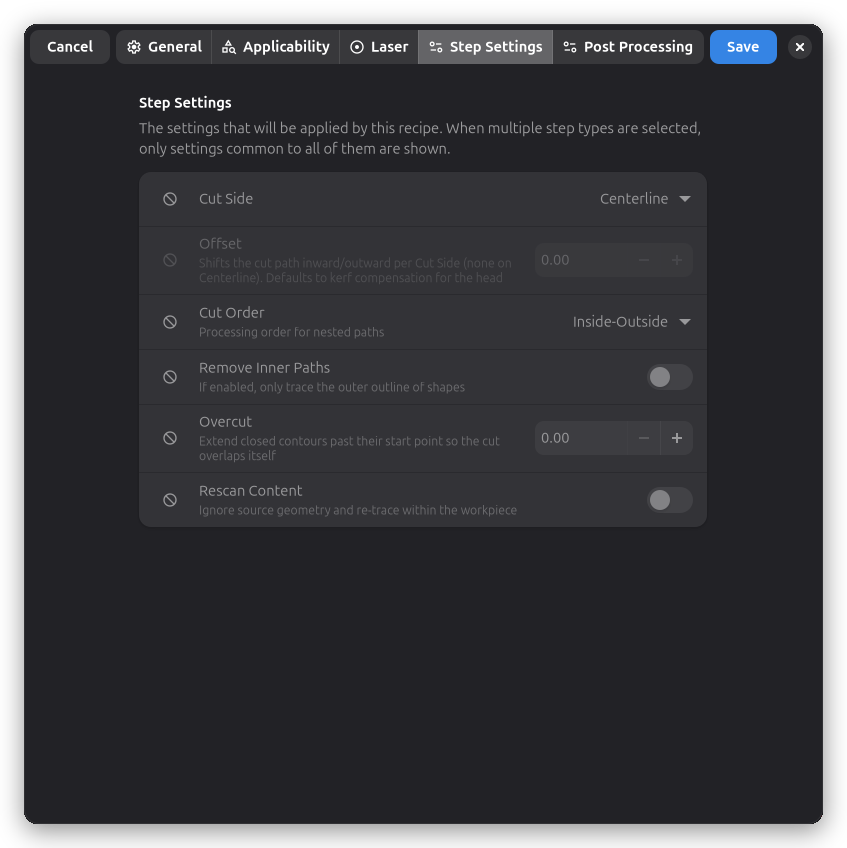
- Selecting only a task type (with "Any Type" as the step type) shows a single "Settings" page with the process settings for that task
- Leaving both at "Any" shows only the base motion settings (cut speed and travel speed) that are shared by all steps
Each setting row carries an apply toggle (a check button next to the row):
- Toggle on: the recipe stamps this setting onto the step when it is applied
- Toggle off: the recipe leaves this setting on the step untouched
Post Processing Tab - Store post-processor settings (lead-in/out, multipass, overscan, and other transformers) on the recipe so they are applied to the steps it targets:
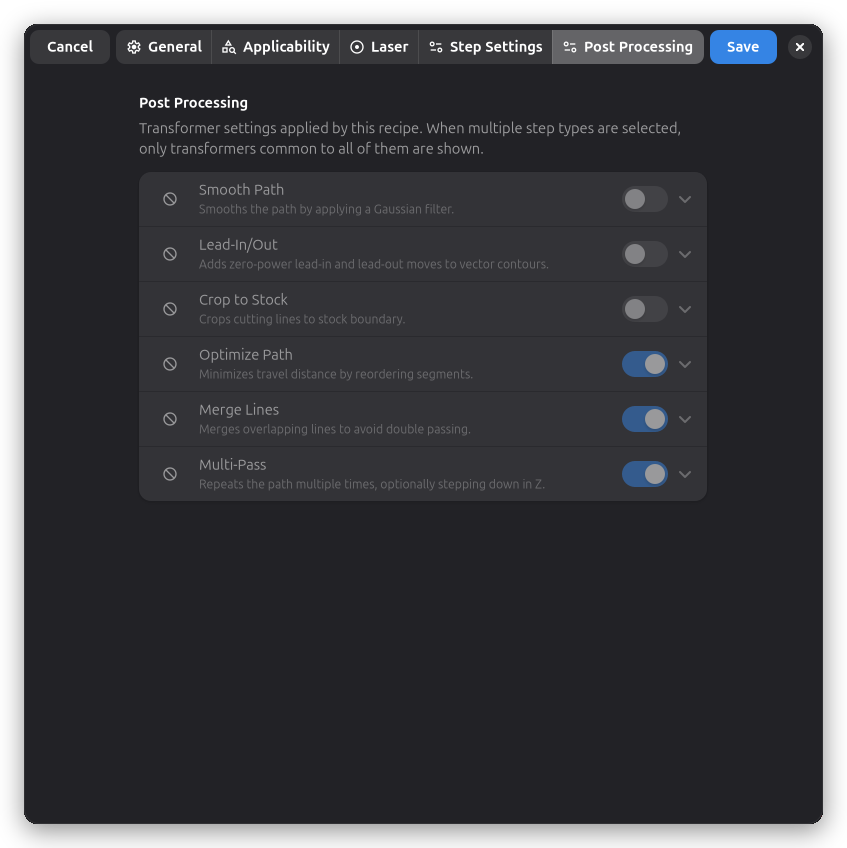
Each transformer carries an apply toggle (a check button next to its row):
- Toggle on: the recipe stamps the transformer's parameters onto the step (its own enable switch decides whether it is turned on or off)
- Toggle off: the recipe does not touch this transformer when applied
When the recipe targets multiple step types, only the transformers common to all of them are shown.
Recipe Matching System
Rayforge automatically suggests and applies the most appropriate recipes based on:
- Machine compatibility: Recipes can be machine-specific
- Laser head compatibility: Recipes can force a specific head on the machine
- Material matching: Recipes can target specific materials
- Thickness ranges: Recipes apply within defined thickness limits
- Task type matching: Recipes are tied to specific operation categories
- Step type matching: Recipes can target a specific operation type (e.g. only "Contour" steps)
A recipe only matches when all of its criteria are satisfied. When a new step is created, Rayforge searches the recipe library for matching recipes and automatically applies the best one. The system uses a specificity scoring algorithm to prioritize the most relevant recipes:
- Machine-specific recipes rank higher than generic ones
- Laser head-specific recipes rank higher
- Material-specific recipes rank higher
- Thickness-specific recipes rank higher
- Step-type-specific recipes rank higher
Applying Recipes to Steps
Recipes are applied per step. Open the settings of any step and find the "Recipe" row in the "General" section:
- Choose...: Opens a filterable list of recipes. Use the search field or the "Show only compatible recipes" toggle to narrow the list; compatible recipes match the step's task type, step type, machine, and the stock materials in the document. Selecting a recipe applies all of its settings to the step.
- Save As...: Opens the recipe editor pre-filled with the current step's settings, machine, material, and thickness. Saving the new recipe applies it to the step immediately.
- Update: Appears when the step's settings have diverged from the recipe that was applied to it (e.g. after you changed a value manually). Clicking it overwrites the saved recipe with the step's current settings.
The name of the currently applied recipe is shown in the row. Steps without an applied recipe are labelled "Manual Settings".
Related Topics:
- Materials - Managing material properties
- Color Rules - Map SVG colors to step types at import
- Stock Handling - Working with stock materials
- Machine Setup - Configuring machines and laser heads
- Operations Overview - Understanding different operation types