Installation
Rayforge is available for Linux and Windows. Choose your platform below and follow the installation instructions.
Linux
Rayforge offers several installation methods for Linux users. Choose the one that best fits your distribution.
Ubuntu & Derivatives (Recommended)
For Ubuntu 24.04 LTS and newer, as well as derivatives like Linux Mint and Pop!_OS, we recommend using our official PPA. This method provides automatic updates through your system's package manager.
Once installed, launch Rayforge from your application menu or by running rayforge in a terminal.
Snap Package (Cross-Distribution)
The Snap package works on most Linux distributions and includes all dependencies in a sandboxed environment.
Or install from the command line:
Permissions Required
The Snap version runs in a sandbox and requires manual permission grants for hardware access.
Granting Permissions
For Camera Access:
For USB Serial Port Access:
# Enable experimental hotplug support (one-time setup)
sudo snap set system experimental.hotplug=true

# Connect your laser via USB, then grant access
sudo snap connect rayforge:serial-port
See Snap Permissions Troubleshooting for more details.
From Source (Advanced)
For developers and advanced users who want to run the latest development version or contribute to the project.
Requirements:
- Python 3.11 or newer
- System dependencies for GTK4 and GObject Introspection
Installation on Debian/Ubuntu:
# Install system dependencies
sudo apt update
sudo apt install python3-pip python3-gi gir1.2-gtk-3.0 gir1.2-adw-1 \
  gir1.2-gdkpixbuf-2.0 libgirepository-1.0-dev libgirepository-2.0-0 \
  libvips42t64 libadwaita-1-0 libopencv-dev

# Install Rayforge from PyPI
pip3 install rayforge
Note
Package names may differ on other distributions. Refer to your distribution's documentation.
Windows
Download the latest installer from the Releases Page.
- Download
rayforge-x.x.x-installer.exe - Run the installer and follow the on-screen instructions
- Launch Rayforge from the Start Menu or Desktop shortcut
macOS
There are currently no official macOS builds. However, Rayforge may run from source using the pip installation method. Community contributions for macOS packaging are welcome!
Verifying Installation
After installation, verify that Rayforge is working:
- Launch Rayforge from your application menu or terminal
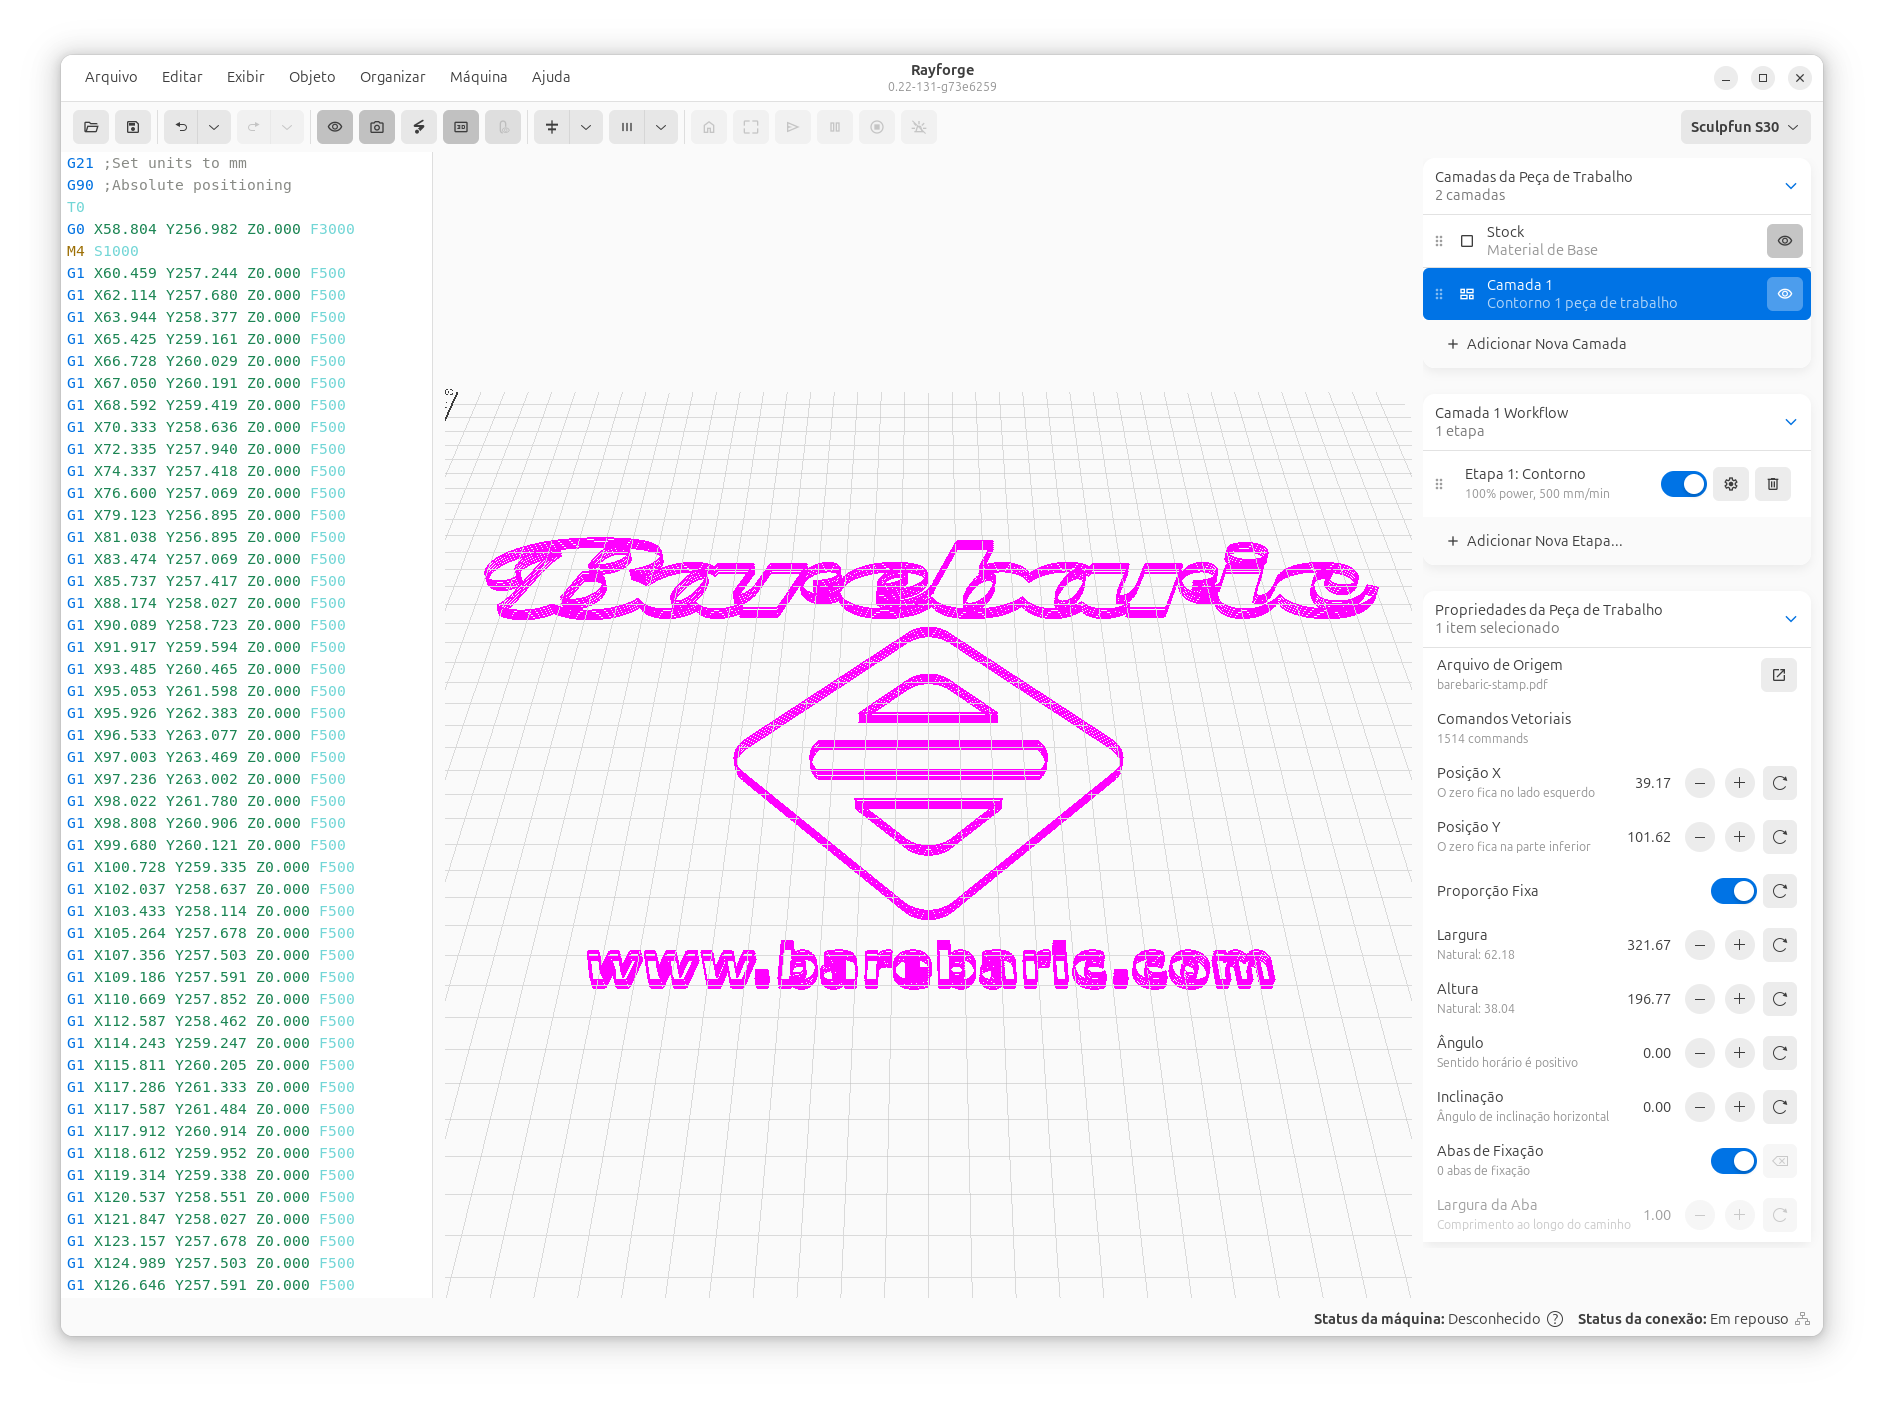
- You should see the main window with the canvas and toolbar
- Check Help → About to confirm the installed version
Next Steps
Now that Rayforge is installed, proceed to First Time Setup to configure your machine.
Troubleshooting
If you encounter issues during installation:
- Linux PPA: Ensure you're running Ubuntu 24.04 or newer
- Snap permissions: See Snap Permissions Guide
- Windows: Run the installer as Administrator if you encounter permission errors
- From source: Ensure all system dependencies are installed
For additional help, visit the Troubleshooting section or report an issue on GitHub.
