3D Preview
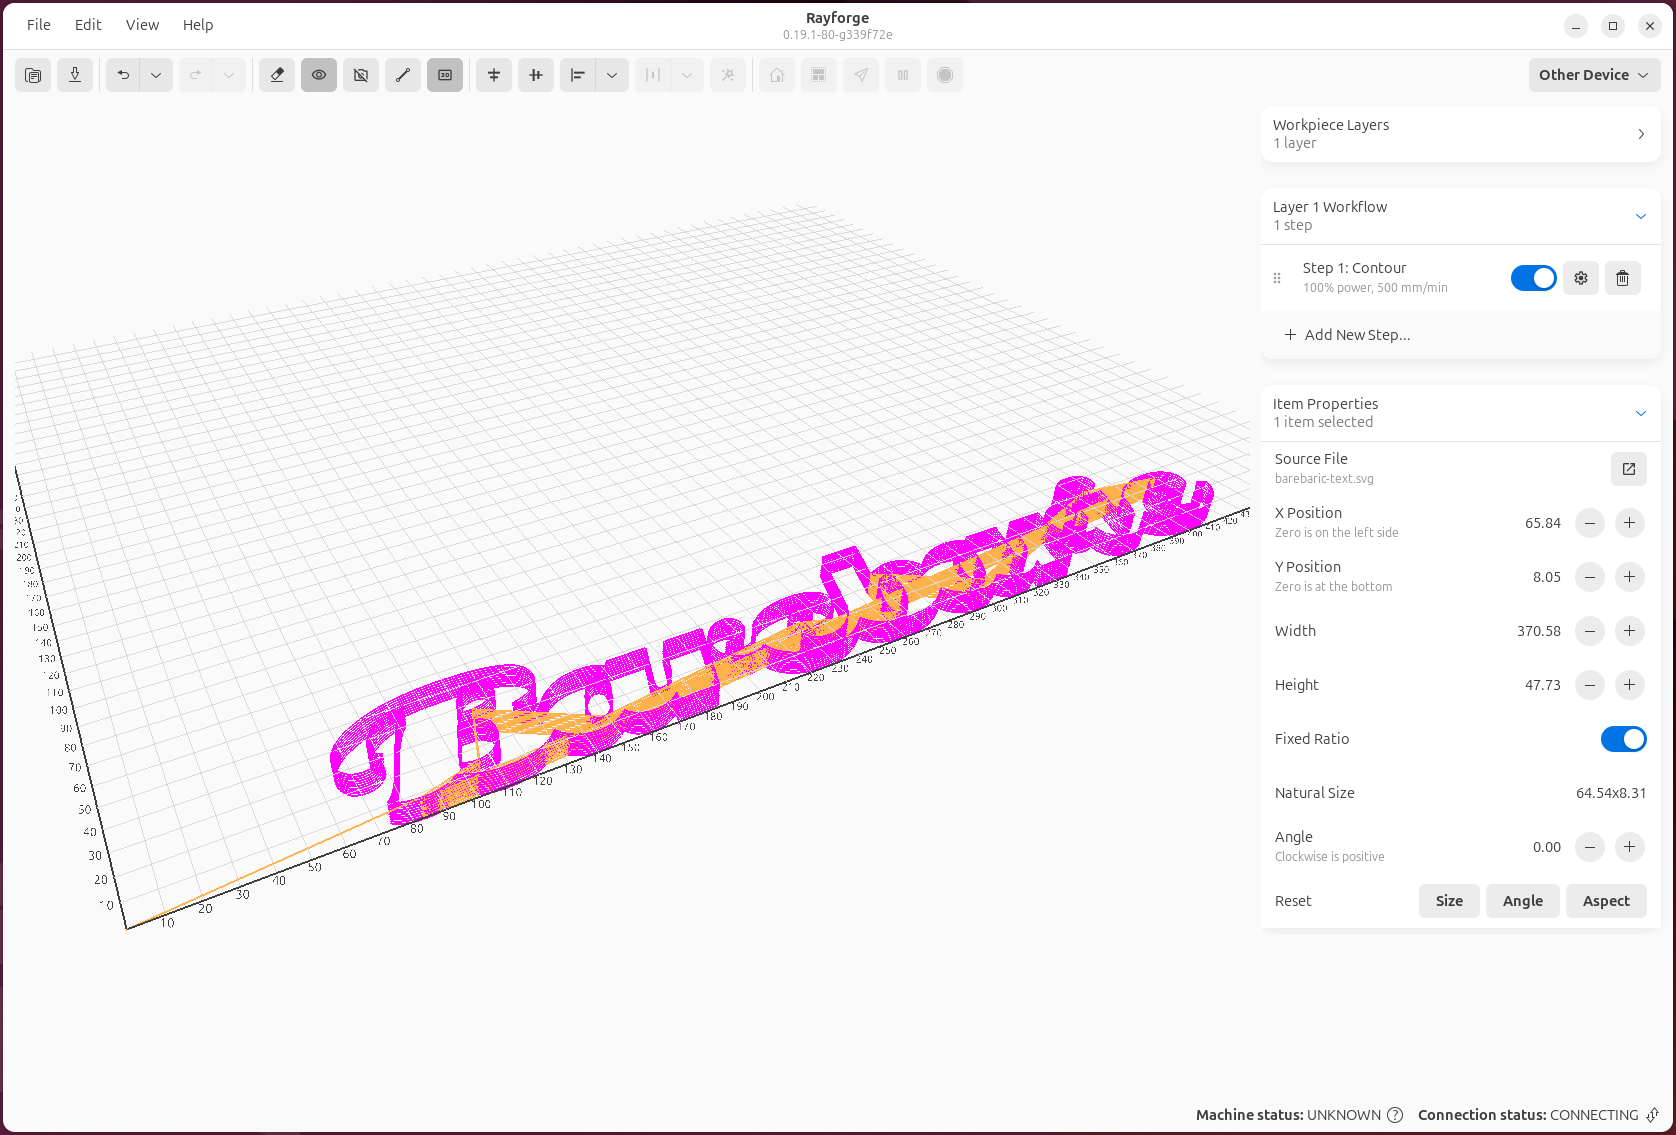
The 3D preview window lets you visualize your G-code toolpaths before sending them to your machine. This powerful feature helps you catch errors and verify your job setup.
Opening 3D Preview
Access the 3D preview:
- Menu: View → 3D Preview
- Keyboard: Ctrl+3
- After G-code generation: Automatically opens (configurable)
Navigation
Mouse Controls
- Rotate: Left-click and drag
- Pan: Right-click and drag, or middle-click and drag
- Zoom: Scroll wheel, or Ctrl + left-click and drag
Keyboard Controls
- R: Reset camera to default view
- Home: Reset zoom and position
- F: Fit view to toolpath
- Arrow keys: Rotate camera
View Presets
Quick camera angles:
- Top (1): Bird's eye view
- Front (2): Front elevation
- Right (3): Right side elevation
- Isometric (4): 3D isometric view
Work Coordinate System Display
The 3D preview visualizes the active Work Coordinate System (WCS) differently from the 2D canvas:
Grid and Axes
- Isolated display: The grid and axes appear as if the WCS origin is the world origin
- Offset applied: The entire grid is shifted to align with the selected WCS offset
- Labels relative to WCS: Coordinate labels show positions relative to the WCS origin, not machine origin
This "in isolation" display makes it easy to understand where your job will run relative to the selected work coordinate system, without being confused by the machine's absolute position.
Changing WCS
The 3D preview automatically updates when you change the active WCS: - Select a different WCS from the toolbar dropdown - The grid and axes shift to reflect the new WCS origin - Labels update to show coordinates relative to the new WCS
WCS in 3D Preview
The 3D preview shows your toolpaths relative to the selected WCS. When you change WCS, you'll see the toolpaths appear to move because the reference point (the grid) has changed, not because the toolpaths themselves moved.
Display Options
Toolpath Visualization
Customize what you see:
- Show Rapid Moves: Display travel moves (dotted lines)
- Show Work Moves: Display cutting/engraving moves (solid lines)
- Color by Operation: Different colors for each operation
- Color by Power: Gradient based on laser power
- Color by Speed: Gradient based on feed rate
Machine Visualization
- Show Origin: Display (0,0) reference point
- Show Work Area: Display machine boundaries
- Show Laser Head: Display current position indicator
Quality Settings
- Line Width: Thickness of toolpath lines
- Anti-aliasing: Smooth line rendering (may impact performance)
- Background: Light, dark, or custom color
Playback Controls
Simulate job execution:
- Play/Pause (Space): Animate toolpath execution
- Speed: Adjust playback speed (0.5x - 10x)
- Step Forward/Back: Advance by individual G-code commands
- Jump to Position: Click timeline to jump to specific point
Timeline
The timeline shows:
- Current position in job
- Operation boundaries (colored segments)
- Estimated time at any point
Analysis Tools
Distance Measurement
Measure distances in 3D:
- Enable measurement tool
- Click two points on toolpath
- View distance in current units
Statistics Panel
View job statistics:
- Total Distance: Sum of all moves
- Work Distance: Cutting/engraving distance only
- Rapid Distance: Travel moves only
- Estimated Time: Job duration estimate
- Bounding Box: Overall dimensions
Layer Visibility
Toggle visibility of operations:
- Click operation name to show/hide
- Focus on specific operations for inspection
- Isolate problems without regenerating G-code
Verification Checklist
Before sending to machine, verify:
- Toolpath is complete: No missing segments
- Within work area: Stays inside machine boundaries
- Correct operation order: Engrave before cut
- No collisions: Head doesn't hit clamps/fixtures
- Proper origin: Starts at expected position
- Tab positions: Holding tabs in correct locations (if used)
Performance Tips
For large or complex jobs:
- Reduce line detail: Lower display quality for faster rendering
- Hide rapid moves: Focus on work moves only
- Disable anti-aliasing: Improves framerate
- Close other applications: Free up GPU resources
Troubleshooting
Preview is blank or black
- Regenerate G-code (Ctrl+G)
- Check that operations are enabled
- Verify objects have operations assigned
Slow or laggy preview
- Reduce line width
- Disable anti-aliasing
- Hide rapid moves
- Update graphics drivers
Colors not showing correctly
- Check color by setting (operation/power/speed)
- Ensure operations have different colors assigned
- Reset view settings to defaults
Related Pages:
- Work Coordinate Systems (WCS) - Understanding WCS display
- Main Window - Main interface overview
- Settings & Preferences - Configure preview settings