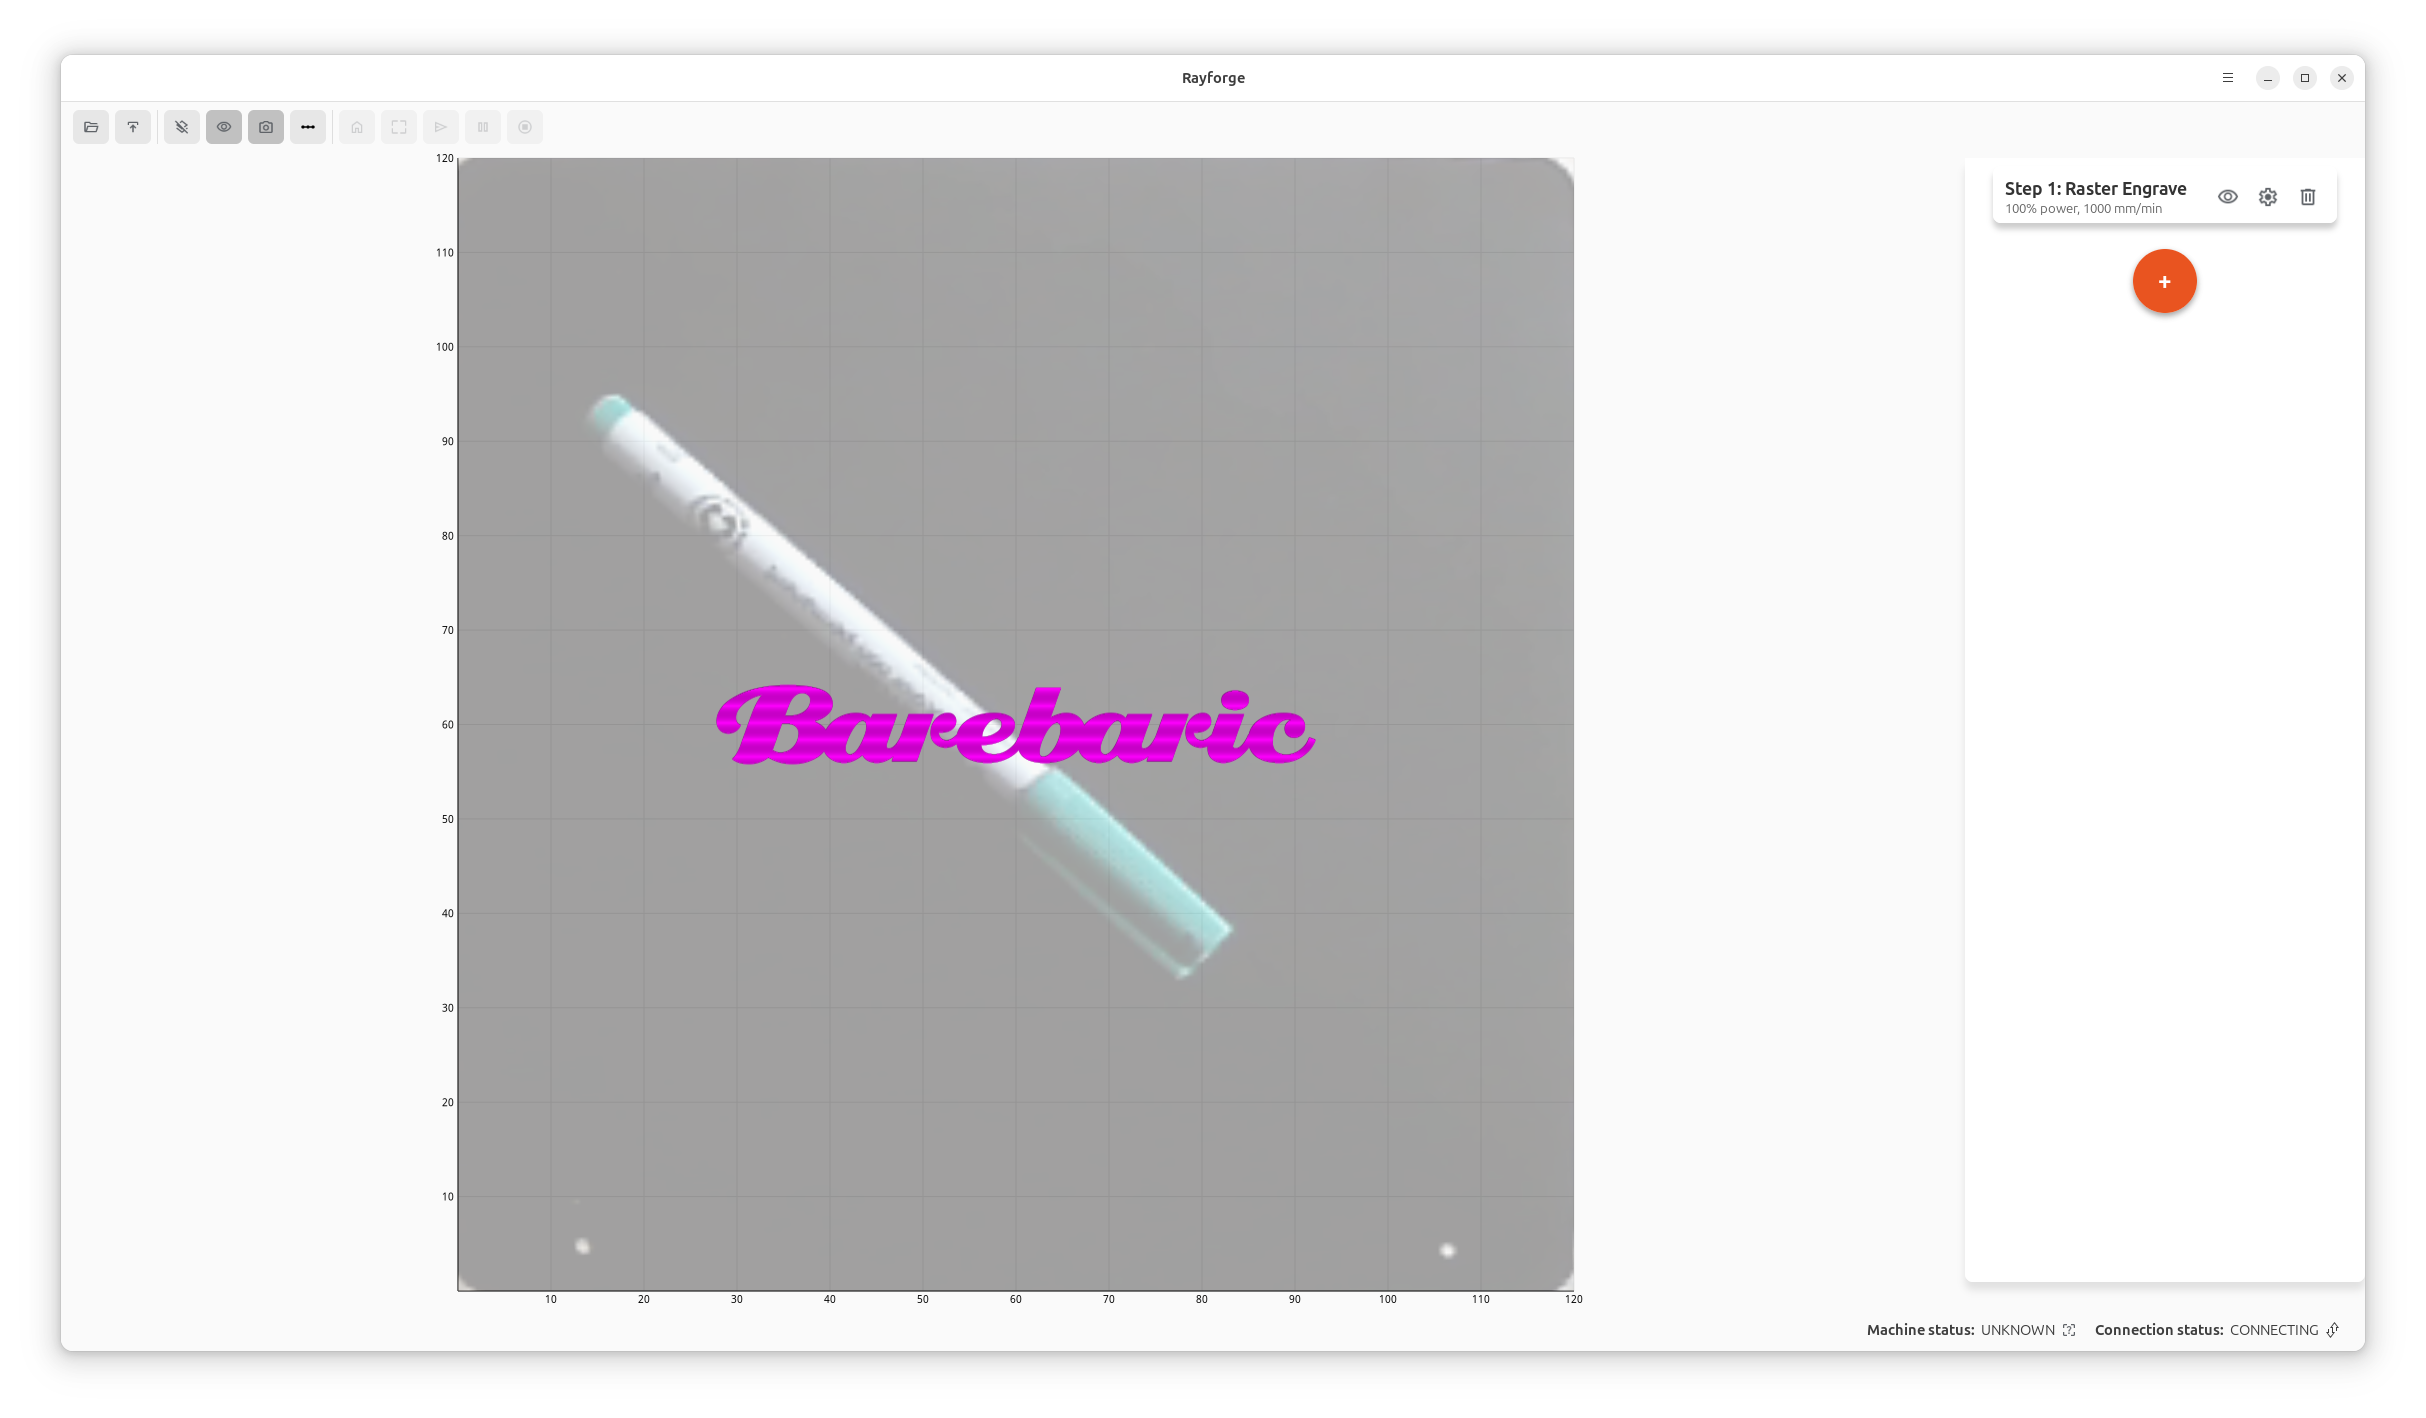
Multi-Laser Support: Choose Different Lasers for Each Operation
One of the most powerful features in Rayforge is the ability to assign different lasers to different operations within a single job. This opens up exciting possibilities for multi-tool setups and specialized workflows.
What is Multi-Laser Support?
If your machine is equipped with multiple laser modules—say, a diode laser for engraving and a CO2 laser for cutting, or different power diode lasers optimized for different materials—Rayforge lets you take full advantage of this setup.
With multi-laser support, you can:
- Assign different lasers to different operations in your job
- Switch between laser modules automatically during job execution
- Optimize for material and task by using the right tool for each operation
Use Cases
Hybrid Engraving and Cutting
Imagine you're working on a wooden sign project:
- Operation 1: Use a low-power diode laser to engrave fine text and detailed graphics
- Operation 2: Switch to a higher-power CO2 laser to cut out the sign shape
With Rayforge, you simply assign each operation to the appropriate laser in your machine profile, and the software handles the rest.
Material-Specific Optimization
Different laser types excel at different materials:
- Diode lasers: Great for wood engraving, leather, and some plastics
- CO2 lasers: Excellent for cutting acrylic, wood, and other organic materials
- Fiber lasers: Perfect for marking metals
If you have multiple laser types on a gantry system, Rayforge's multi-laser support lets you use the optimal tool for each part of your project.
How to Set It Up
1. Configure Multiple Lasers in Your Machine Profile
Go to Machine Setup → Multiple Lasers and define each laser module in your system. You can specify:
- Laser type and power range
- Offset positions (if lasers are mounted at different locations)
- Material compatibility
See our Multi-Laser Configuration Guide for detailed instructions.
2. Assign Lasers to Operations
When creating operations in your project:
- Select the operation (Contour, Raster, etc.)
- In the operation settings, choose which laser to use from the dropdown
- Configure the operation parameters specific to that laser
3. Preview and Run
Use the 3D preview to verify your toolpaths, then send the job to your machine. Rayforge will automatically generate the appropriate G-code commands to switch between lasers as needed.
Technical Details
Under the hood, Rayforge uses G-code commands to switch between laser modules. The exact implementation depends on your firmware and hardware setup, but common approaches include:
- M3/M4 with tool offsets: Switch between lasers using tool change commands
- GPIO control: Use firmware-supported GPIO pins to enable/disable different laser modules
- Custom macros: Define pre- and post-operation macros for laser switching
Getting Started
Multi-laser support is available in Rayforge 0.15 and later. To get started:
- Update to the latest version
- Configure your machine profile with multiple lasers
- Try it out on a test project!
Check out the Machine Profiles documentation for more details.
Have a multi-laser setup? We'd love to hear about your experience! Share your projects and feedback on GitHub.

